

Screenshots often referred to as screencaps or screengrabs, is a feature that lets you capture the content of the screen. Most smart devices with a display have the ability to take screenshots. Safari is the default browser for all Apple devices. Like other devices, you can also take screenshots in the Safari browser on your iPhone, iPad, and Mac.
How to Capture a Screenshot on Safari [iPhone/iPad]
(1) Launch the Safari browser on your iPhone or iPad device.
(2) Navigate to the website you intend to take a screenshot.
Information Use !!
Concerned about online trackers and introducers tracing your internet activity? Or do you face geo-restrictions while streaming? Get NordVPN - the ultra-fast VPN trusted by millions, which is available at 69% off + 3 Months Extra. With the Double VPN, Split tunneling, and Custom DNS, you can experience internet freedom anytime, anywhere.


(3) Tap the Power button and Volume button at the same time to take a screenshot.
If you have enabled the Assistive Touch, click the Assistive Touch button and select the option Screenshot.
(4) Once the screenshot is taken, click the screenshot thumbnail displayed at the bottom left.
(5) Tap the thumbnail to navigate to the screenshot editor screen.
(6) By default, the Screen option will be selected. Now, crop the website screenshot to your desired size. If you wish, you can highlight it using the pens.
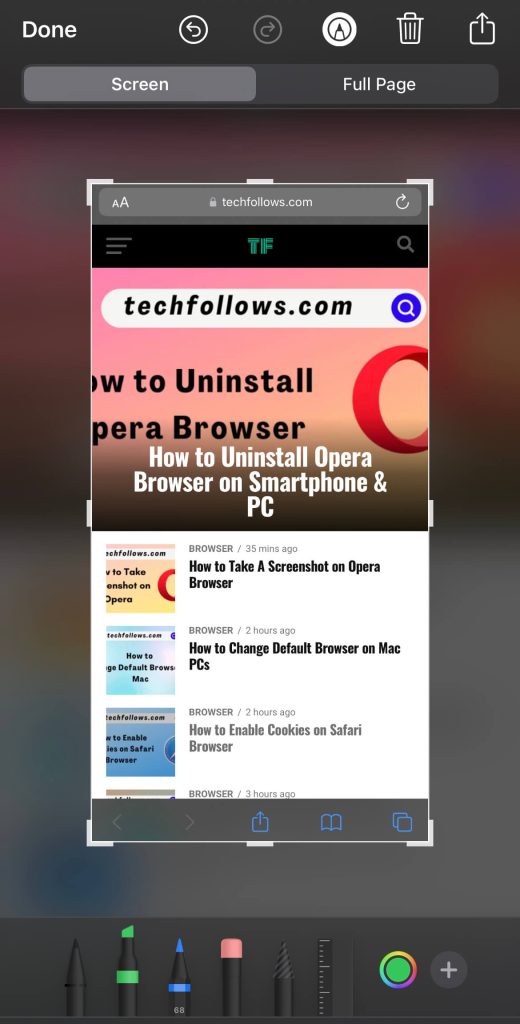
(7) After cropping the picture on your iPhone, hit the Share icon and send it to your desired person.
(8) If you want to save the image, hit the option Save to Files.
If you want to hide the search bar in your screenshot, you can enable the full-screen mode on Safari and take a screenshot.
Take a Screenshot of an Entire Webpage on Safari
By default, the iPhone and iPad take screenshots of the entire webpage.
(9) To view the entire webpage, hit the Full Page option on the Screenshot editor screen.
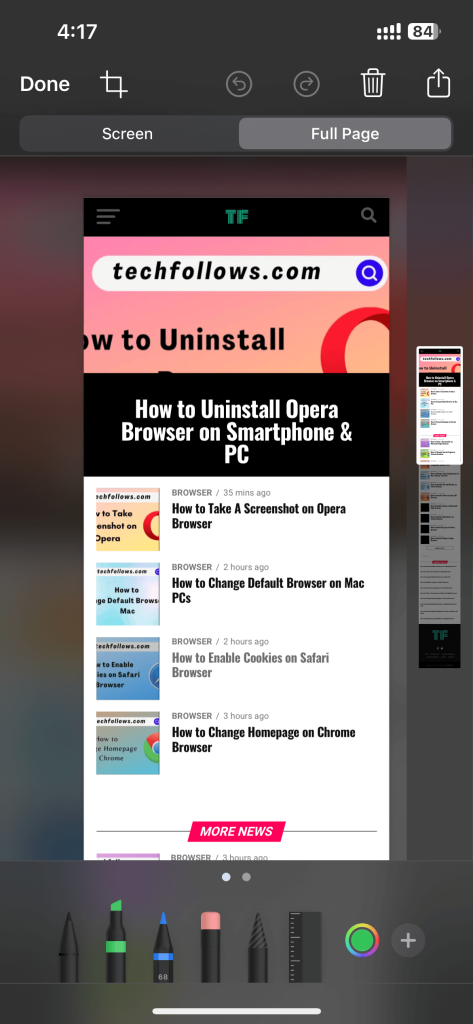
(10) You can crop the webpage by selecting the crop icon displayed at the top-left.
(11) After editing the image, select the Done button at the top-left.
(12) Tap Save PDF to Files to save the webpage screenshot as a PDF file. You can access the saved PDF file in the Files app.
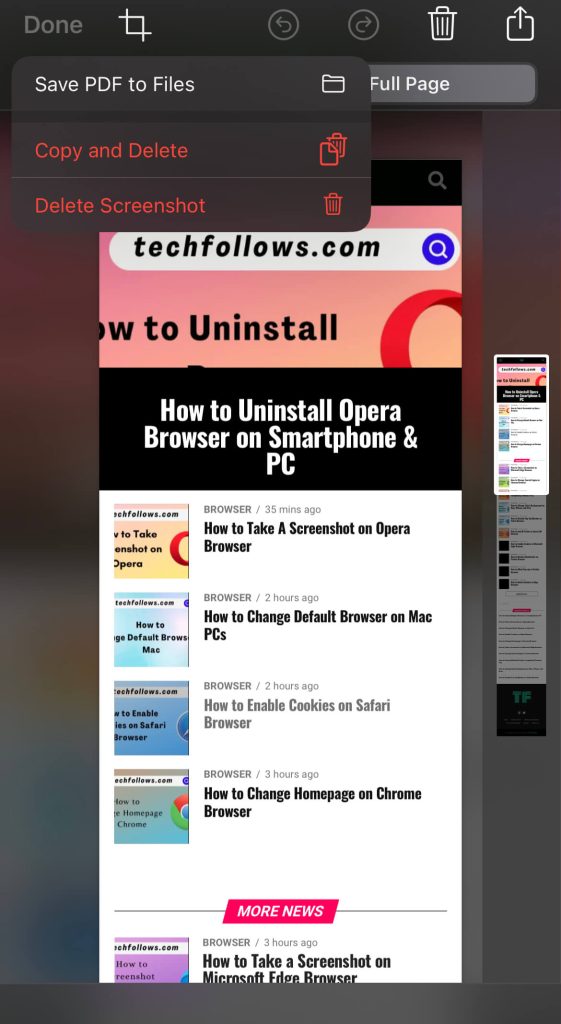
(13) To share the website screenshot PDF, hit the Share icon and select the person you want to share.
How to Take Screenshots on Safari [Mac]
There are three ways to take screenshots in Safari on Mac. All the possible ways to take screenshots on Safari are discussed below. Before going into the steps, ensure to update the Safari browser to the latest version.
Using Shortcut Keys
The easiest way to take screenshots is by using the shortcut keys.
(1) Launch the Safari browser on your MacBook.
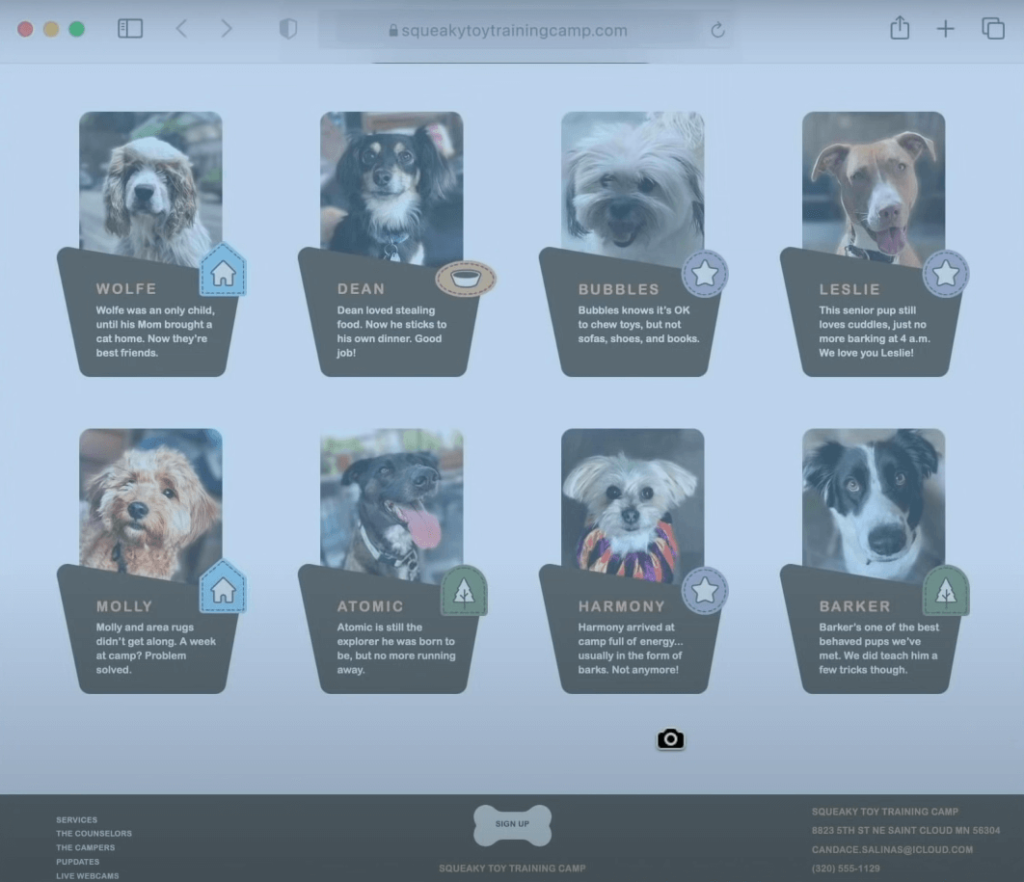
(2) Go to the website you wish to take a screenshot.
(3) Based on your preference, press the below Mac shortcut keys to take a screenshot.
★ Press the Shift + Command + 3 keys simultaneously to take the entire screen of the Mac.

★ Press the Shift + Command + 4 keys at the same time to manually take a screenshot on Safari.

- After pressing these keys, you will see a screenshot pointer on the screen.
- Drag and select a portion on the website you want to capture
- Now, release the trackpad or mouse to capture the screenshot.

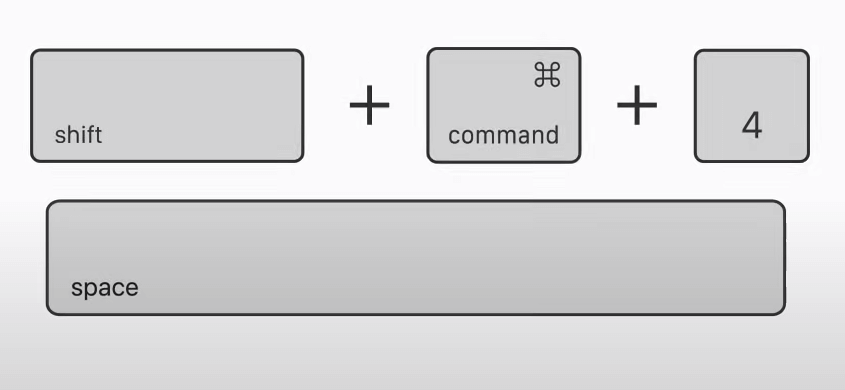
☆ Press the Shift + Command + 4 + Space bar keys simultaneously to take only the screenshot of the window on Safari.
- After pressing the keys, you will see a Camera icon on the screen.
- Move the Camera icon using a trackpad or mouse and navigate the Camera icon to the Safari Window you want to capture.
- Once highlighted, tap the trackpad or mouse to take a screenshot of the Safari window.
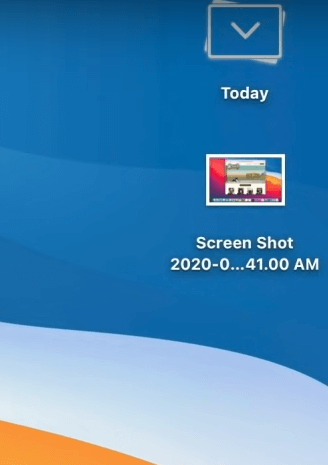
All the website screenshots you have taken on Safari will be saved on the desktop screen of your Mac.
Using Screenshot Toolbar
This method is applicable only to Mac devices that run on macOS Mojave or later.
(1) Open the Safari browser on your Mac and navigate to the website you want to take a screenshot.
(2) Press the Shift + Command + 5 keys to open the Screenshot toolbar.

(3) Now, the screenshot toolbar appears at the bottom.
(4) Choose the second icon from the left to capture the active window or full webpage of the Safari browser.

(5) The first icon lets you capture the entire Mac screen, and the third icon allows you to capture a particular portion of a screen.
If you have installed the Chrome browser on Mac, you can also use the shortcut keys or screenshot toolbar to take full-page screenshots on Chrome.
Take Full Page Screenshots using Elements
(1) Open the Safari browser on your Mac.
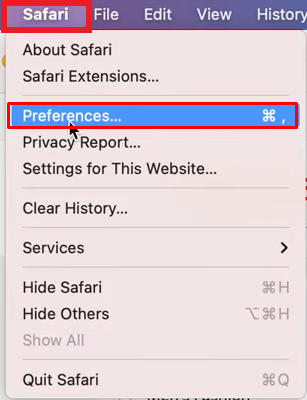
(2) Select the option Preferences by clicking on Safari → Preferences.
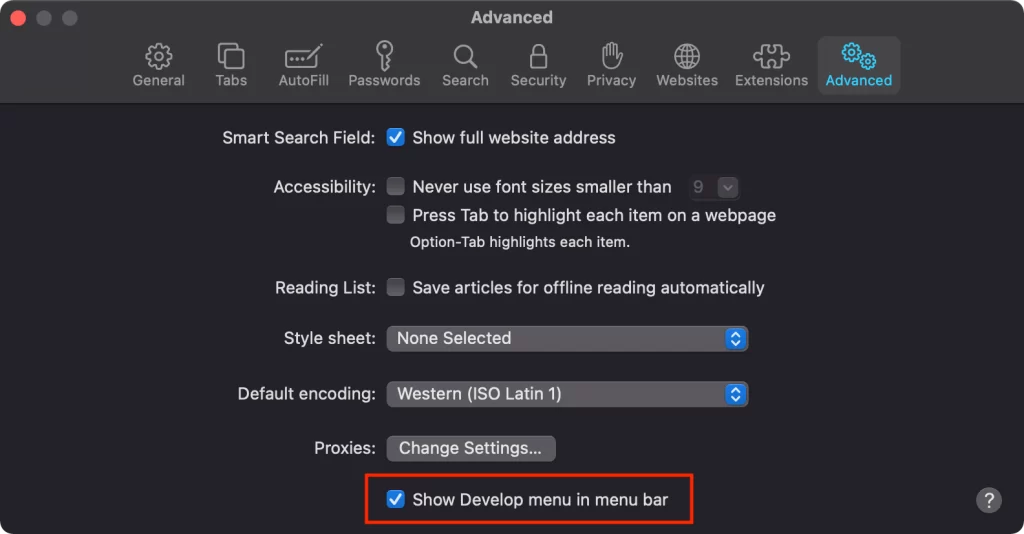
(3) Tap the Advanced option.
(4) Tick the box Show Develop menu in menu bar.
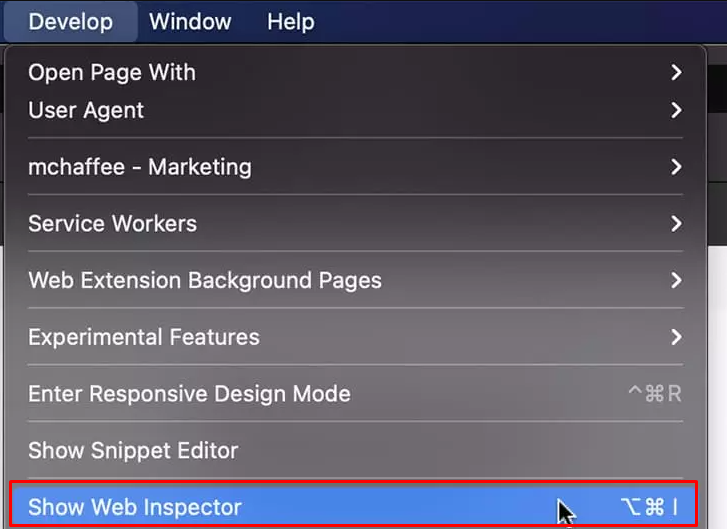
(5) Now, click on the Develop option and select Show Web Inspector from the drop-down.
(6) Click on the Elements tab. Then, select the first HTML file, and right-click on it.
(7) Select the option Capture screenshot.

(8) Finally, click on the option Save from the popup to save the screenshot.
(9) You can access the saved full-page screenshot on the Mac desktop screen.
FAQs
To capture the screenshot on Mac, press the Shift + Command + 4 + Space bar keys simultaneously to capture the entire webpage on Safari.
Disclosure: If we like a product or service, we might refer them to our readers via an affiliate link, which means we may receive a referral commission from the sale if you buy the product that we recommended, read more about that in our affiliate disclosure.