

The Screenshot is nothing but capturing the screen of your device, including a PC, laptop, smartphone, tablet, and many more. It is sometimes known as a screengrab or screencap. Taking screenshots will be helpful whenever you find something important on the web, documents, apps, etc. You can capture the active screen or static image on your PC and share it with others for later reference. Every device has a built-in screenshot feature to capture the screen. If you are using a Windows Laptop, you can take screenshots in more than one way. All the possible ways to capture a screenshot on Windows 10 and 11 are discussed below.
How to Capture a Screenshot using Shortcut Keys
The quickest way to take a screenshot on your Windows Laptop is by using the shortcut keys.
Windows Key + Print Scrn Key
If you want to save the screenshot as an image on your PC, refer to the steps below.
Information Use !!
Concerned about online trackers and introducers tracing your internet activity? Or do you face geo-restrictions while streaming? Get NordVPN - the ultra-fast VPN trusted by millions, which is available at 69% off + 3 Months Extra. With the Double VPN, Split tunneling, and Custom DNS, you can experience internet freedom anytime, anywhere.

#1. On your PC, open the website or document you want to take the screenshot.
#2. Press the Windows + Print Scrn key simultaneously. Now, the screen blinks to indicate the capture of the screenshot.
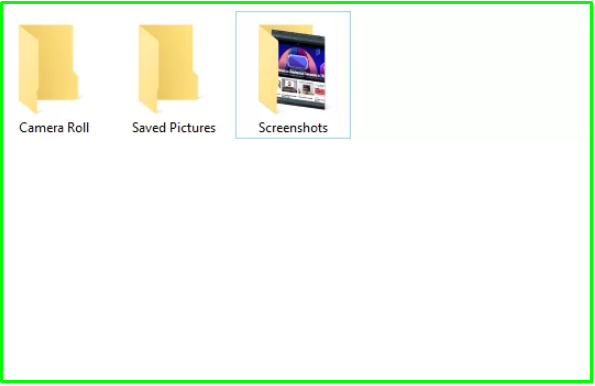
#4. Go to the Pictures section on your PC and tap the Screenshots folder.
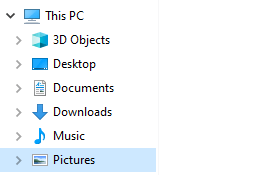
#5. Here, you will find the screenshot image.
Print Scrn Key
This method involves capturing the screen and pasting it into a document or any software. If you’re an editor, you can use this method to take and edit screenshots.
#1. On your desktop or laptop, navigate to the website or location where you intend to capture the screen.
#2. Press the Prnt Scrn on your keyboard to take a screenshot.
#3. The screenshot will be copied to the clipboard.

Note: You can also use the Alt + Print Scrn Key to copy the screenshot to the clipboard.
#4. Now, open an editing tool or any application to paste the screenshot.
#5. Press the Windows + V key at the same time.
#6. The Clipboard will appear on the right side.
#7. Locate and select the Screenshot on the Clipboard menu.

#8. Now, the screenshot image will be automatically uploaded to the application.
How to Capture & Edit a Screenshot on Windows PC using Snip & Sketch App
The Snipping tool is an in-built screenshot editor available on all Windows versions, including Windows 11. In 2018, Microsoft released an advanced version of the Snipping tool called Snip & Sketch with the Windows 10 update. You can use both tools to edit screenshots on Windows PC.
#1. Navigate to your desired location on the Windows laptop.
#2. On the keyboard, press the keys given below to open the Snip tool.
Windows Key + Shift Key + S
#3. The entire PC screen will go grey, and you can see four snip tools at the top. Each tool allows you to take screenshots differently. The functions of each tool are discussed below.

☆ Rectangular Snip:
This tool allows you to take screenshots in a perfect rectangular shape.
★ Freeform Snip:
As the name implies, you can use this tool to capture the screen by freehand drawing.
☆ Window Snip:
With this tool, you can take a screenshot of the active window.
★ Full-Screen Snip:
By selecting this tool, the entire screen will be captured.
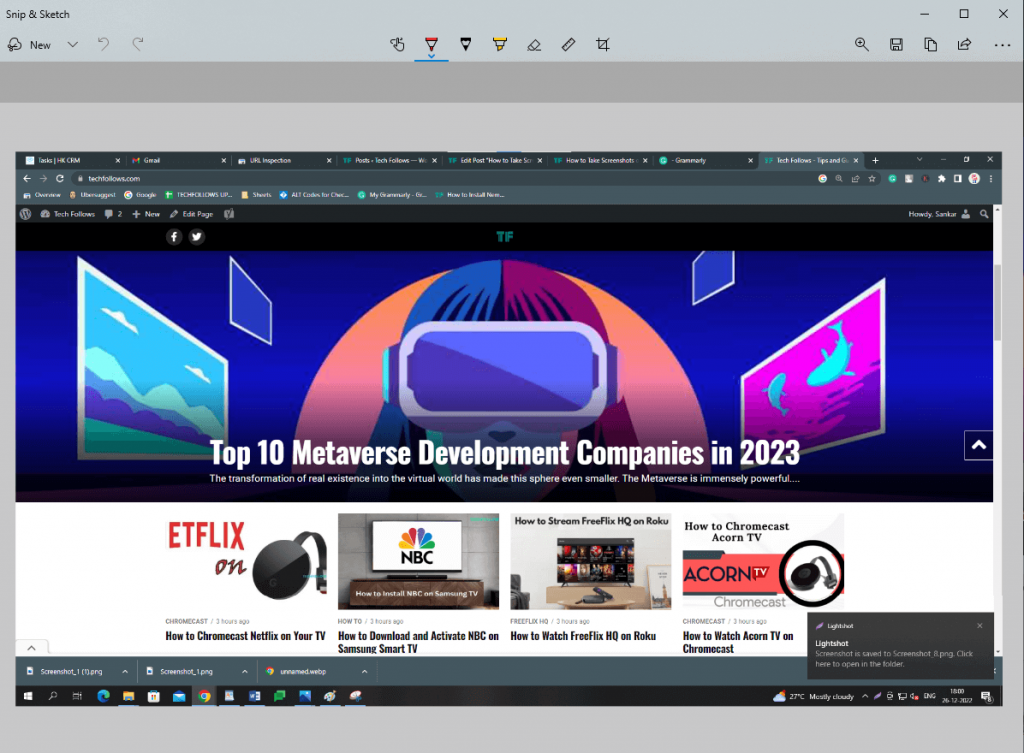
Edit the Screenshot using Snip & Sketch App
#4. After taking the screenshot, you will see a pop-up message “Snip saved to clipboard” at the bottom right.
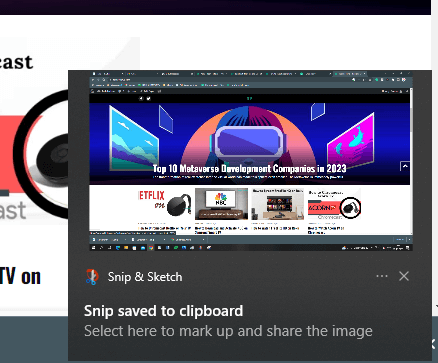
#5. Tap the notification message to open the Snipping editing app.
Note: By default, the image will be opened in Snip & Sketch app. You can also open the Snipping tool to edit the screenshot image.
#6. On the Snip & Sketch app, you will find several basic editing tools like the Crop tool, Highlighter, Pencil, etc.
#5. Edit the image and hit the Save icon at the top.
#6. Select the Share icon to share the edited screenshot image.
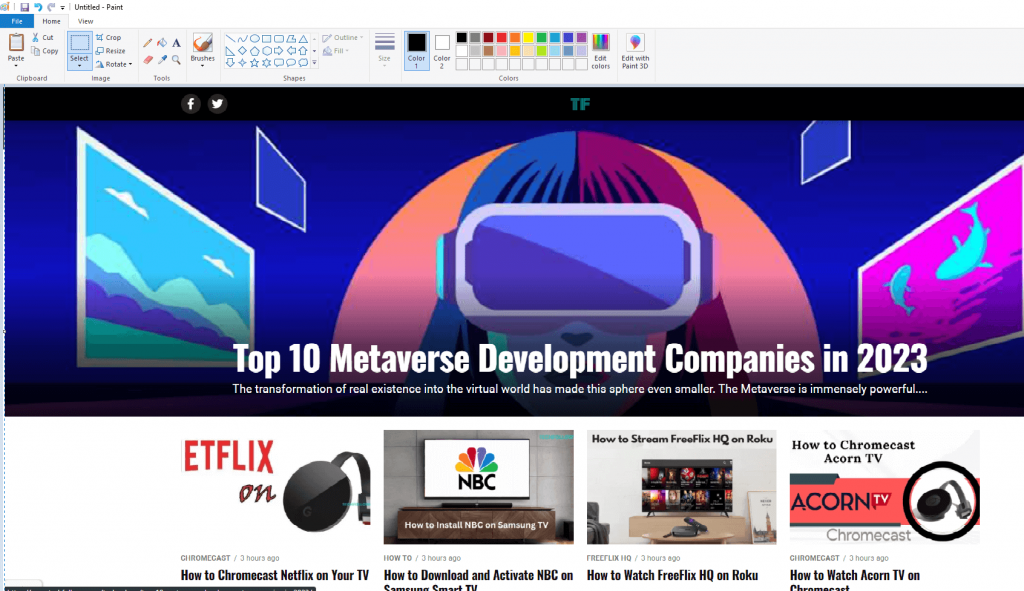
You can edit the screenshot image using MS Paint or other editing apps on your PC. To do it,
- Open the editing application and press the Windows + V Key.
- Select the Screenshot image you have taken using the Snip tool.
- Now, the image will be pasted on the editing app.
How to Take a Screenshot using Game Bar
Game Bar is an in-built overlay software available for Windows 10 and Windows 11 PCs. With this tool, you can easily take screenshots of a website, game, document, etc., on your PC.
#1. Press the Windows + G key on your Keyboard.
#2. Now, the Game Bar overlay appears on the screen.
#3. Tap the Camera icon at the top left to take the screenshot.
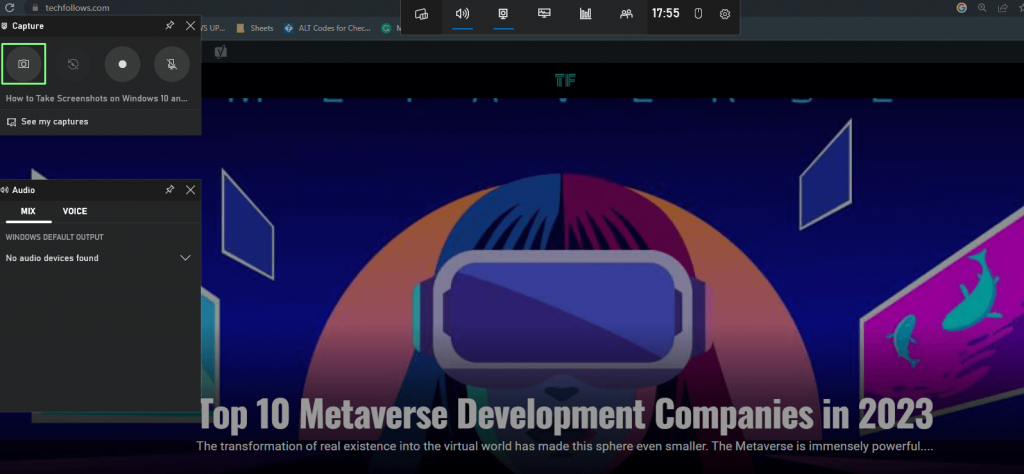
Note: Tap the Record icon to record the screen of your Windows PC.
#4. Hit the option Open File Location to navigate to the screenshot saved folder.
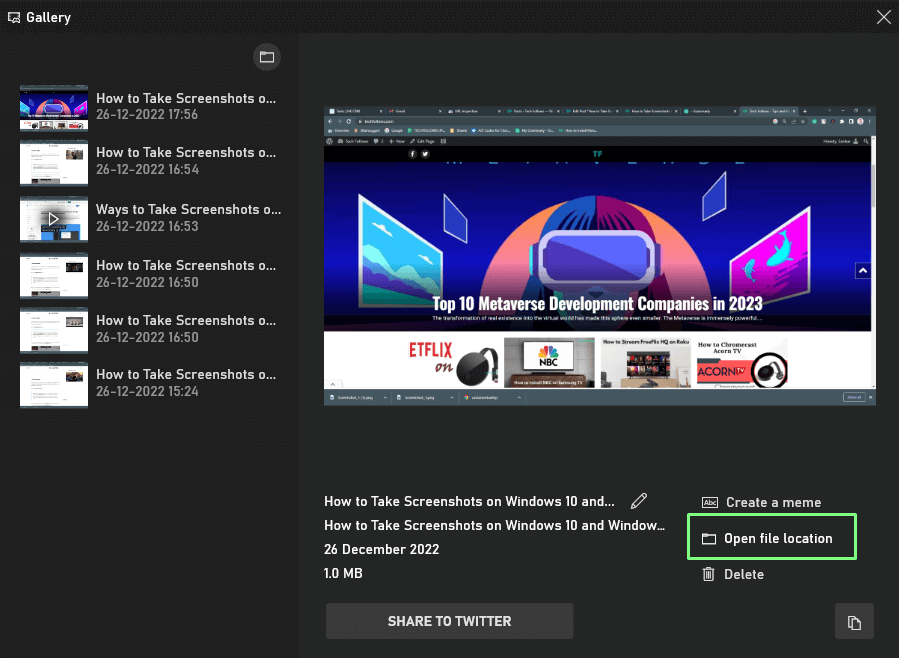
#5. Here, you can see all the screenshots you have taken using Game Bar.
You can also press the shortcut key below to take the screenshot using Game Bar.
Alt Key + Windows Key + Print Scrn Key
How to Take Screenshots on Windows Laptop using Lightshot [Third-Party App]
Lightshot is a popular screenshot application for Windows PC. This application allows you to edit the screenshot images instantly.
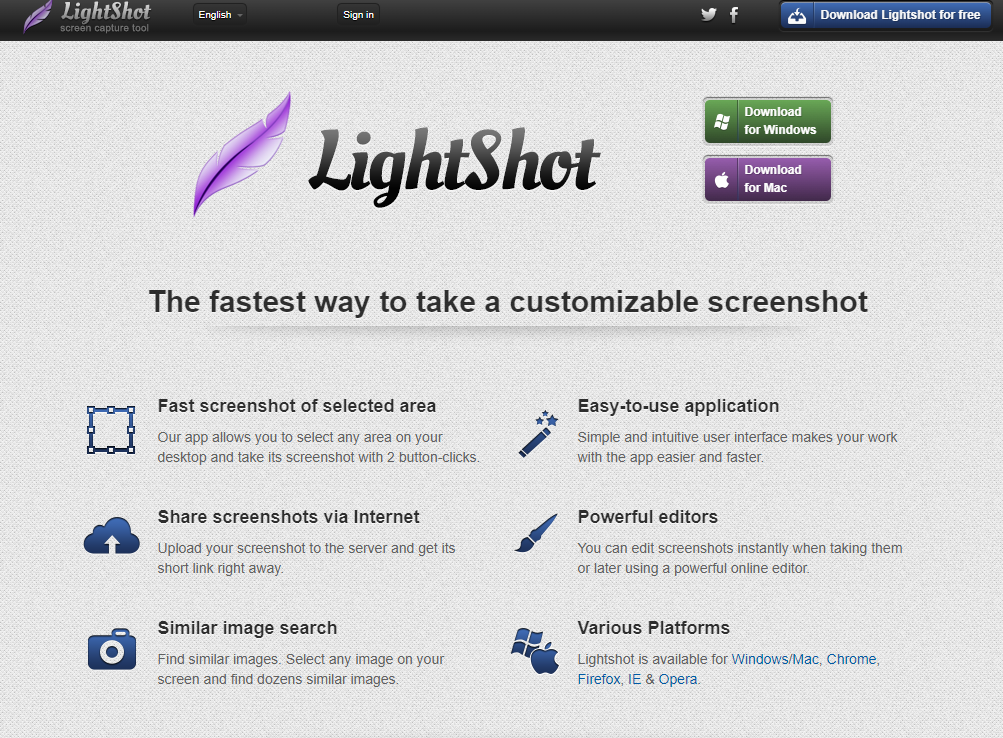
#1. Launch a browser on your PC and navigate to the official Lightshot website.
#2. Hit the Download for Windows button to download the Lightshot installer file.
#3. After downloading the installer file, tap it and install the application on your PC.
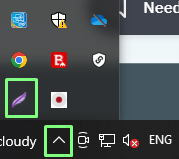
#4. Tap the Show Hidden icon on the Windows taskbar.
#5. Select the Feather icon and take a screenshot of the current screen.
#6. After taking the screenshot, you will find several edit tools like highlighter, shapes, arrow, etc.
#7. Edit the image and hit the Save icon.
#8. Select the location you want to save and tap Save on the pop-up menu.
#9. Now, you can access the Screenshot image in the location you have saved it.

Create a Custom Shortcut to Take Screenshots using Lightshot
Instead of clicking the Feather icon at the taskbar, you can create a custom shortcut key for taking screenshots using Lightshot.
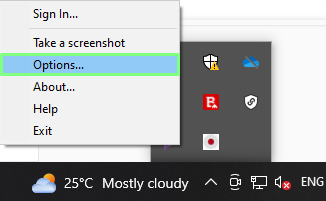
#1. Tap the Show Hidden icon on the Windows taskbar.
#2. Right-click the Feather icon and tap Options from the menu.
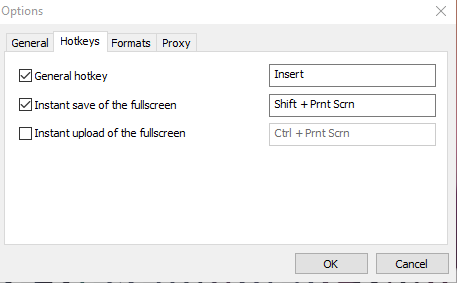
#3. Tap the HotKeys tab and select the box placed near the General Hotkey.
#4. Press any Key to set it as a screenshot shortcut and tap OK.
#5. That’s it. Now, you can easily take screenshots on your laptop by pressing the Shortcut key.
Alternatives to Lightshot
In addition to Lightshot, you can use the apps listed below to take screenshots on Windows Laptop/Desktop.
Snagit

Snagit is one of the best alternatives to use if you like to replace the Lighshot. One of the biggest advantages of using Snagit is that you can even capture videos as well.
| PROS | CONS |
|---|---|
| Easily extract the text from the image and video | Bit costly |
Pricing: $62.99
Supported Languages: English, Spanish, German, French, Portuguese, and Japanese.

Screenpresso

Screenpresso is a must-have screen-capturing software for your laptop. You can use the Screenpresso software directly on your device after the download without installing it.
| PROS | CONS |
|---|---|
| It comes with the powerful editor | Limited features in the free version. |
Pricing: Free – $0, Pro – $32, Enterprise – $2330 (One time purchase for Pro and Enterprise)
Supported Languages: 20+
Camtasia

Unlike other above-mentioned tools, Camtasia is designed specially to screen record videos in addition to images. You can use the capture videos for tutorials, presentations, and more.
| PROS | CONS |
|---|---|
| Offers multiple editing options, such as Transitions, Annotations, Templates, & Themes. | Doesn’t have an auto-record feature. |
Pricing: Free – $0, Premium – $343 (One time purchase)
Supported Languages: English, Japanese, German, French, and Simplified Chinese.
Frequently Asked Questions
Yes. You can take screenshots on your Windows Surface 3 and Surface Pro laptop in three ways.
i. Press Windows Key + Volume Down.
ii. Press Windows Key + PrntScr.
iii. Press PrntScr.
Disclosure: If we like a product or service, we might refer them to our readers via an affiliate link, which means we may receive a referral commission from the sale if you buy the product that we recommended, read more about that in our affiliate disclosure.