

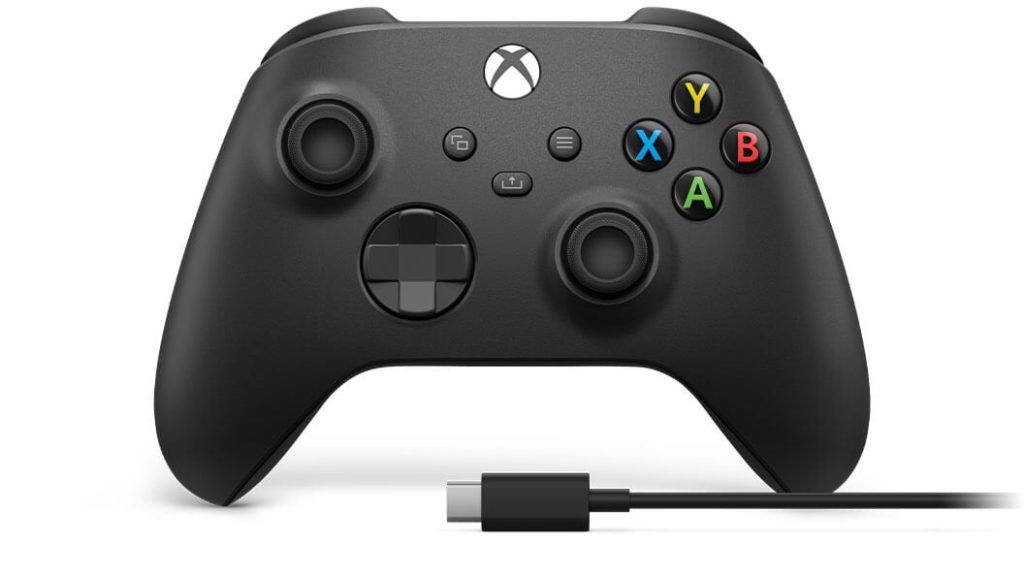
After using the controller for a certain period, your controller may exhibit several issues in navigating or moving a character in the game. If your Xbox One controller is not working as it worked before, you need to update the controller to the latest firmware version. Microsoft frequently releases firmware updates to the Xbox One Controller. Updating your Xbox One controller reduces the input latency on the controller and helps to improve the controller’s performance. You can update the controller wirelessly, using a USB cable, or by using Windows PC.
How to Update Xbox One Controller Wirelessly
1. Turn On your Xbox One controller and connect the Stereo Headset adaptor to the controller.
2. Set up an Internet connection and sign in with your Xbox One account.
Information Use !!
Concerned about online trackers and introducers tracing your internet activity? Or do you face geo-restrictions while streaming? Get NordVPN - the ultra-fast VPN trusted by millions, which is available at 69% off + 3 Months Extra. With the Double VPN, Split tunneling, and Custom DNS, you can experience internet freedom anytime, anywhere.

3. Click the Xbox button on your controller to open the Home menu.
4. Navigate to the Settings menu.
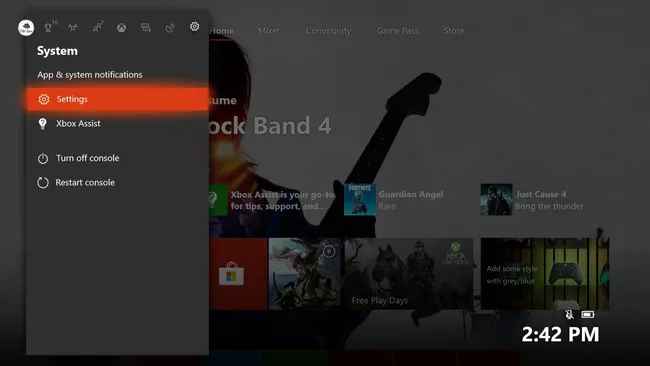
5. Select Systems from the Settings menu.
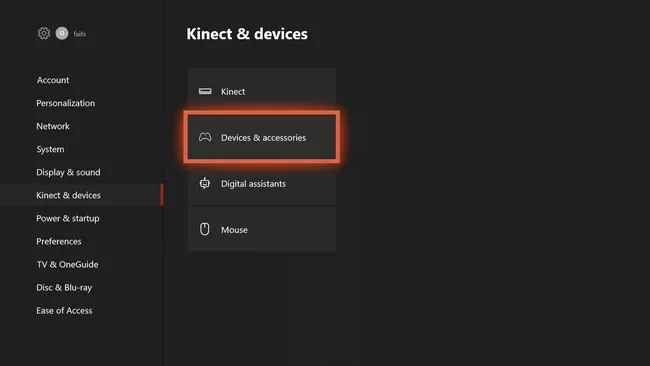
6. Tap Kinect and devices and click the Devices & Accessories option in the menu.
7. Tap the Controller you intend to update and click the three dots icon to find more options.
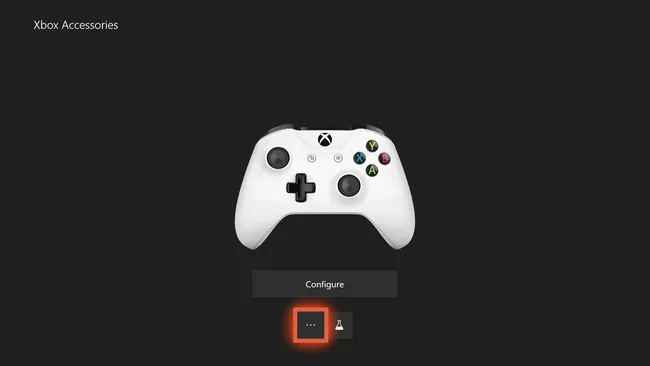
8. On this screen, you will find the Firmware Version of your controller.
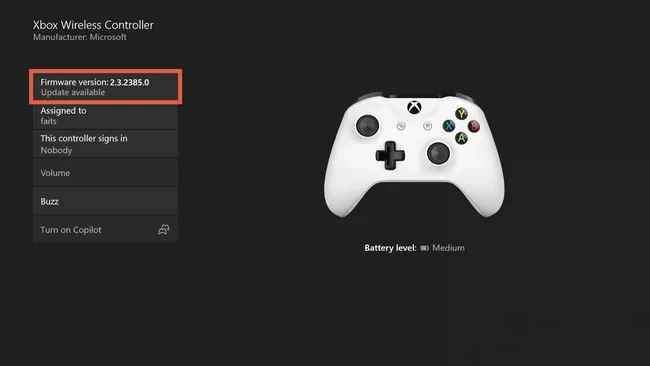
9. If you find the option “Update available” under the version number, tap the Update Now button to update your Xbox One Controller to the latest firmware.
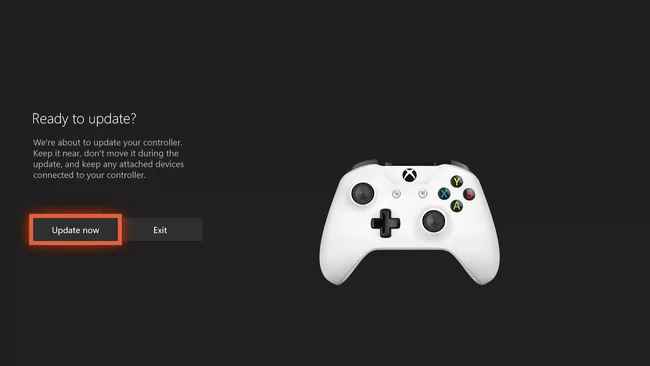
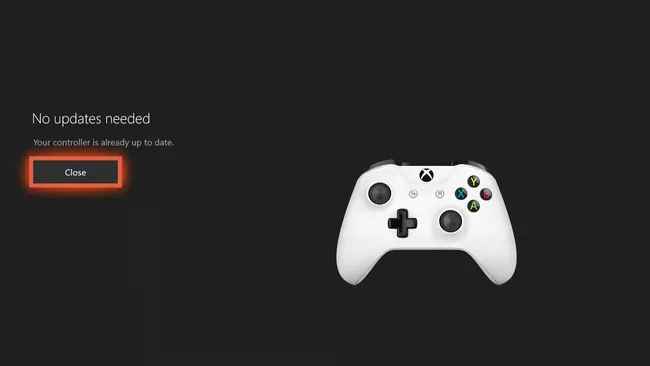
10. Once your controller is updated, click the Close button.
After updating the controller, you can connect the Xbox One Controller to the iPhone wirelessly using the Bluetooth feature.
How to Update Xbox One Controller with USB
1. Power On your Xbox One console and connect it to an Internet connection.
2. Plugin a stereo headset adaptor into your Xbox controller.
3. Connect one end of the USB cable to the port displayed on your Xbox Console.
4. Connect the other end of the USB cable to your Xbox One Controller.
5. Now, the update screen will appear on the screen automatically. Then, follow the on-screen procedures to update the controller.
6. If the Xbox One Controller update screen doesn’t appear, press the Xbox button on your controller and move to the Settings menu.

7. Select Systems from the Settings menu.
8. Go to Kinect & Devices from the systems menu and select Devices & Accessories.
9. Click the three dots (more) icon and select the Firmware version box.
10. If an update is available, click the Update Now button.
11. After updating the controller, click the Close button.
How to Update Xbox One Controller on Windows 10 and 11
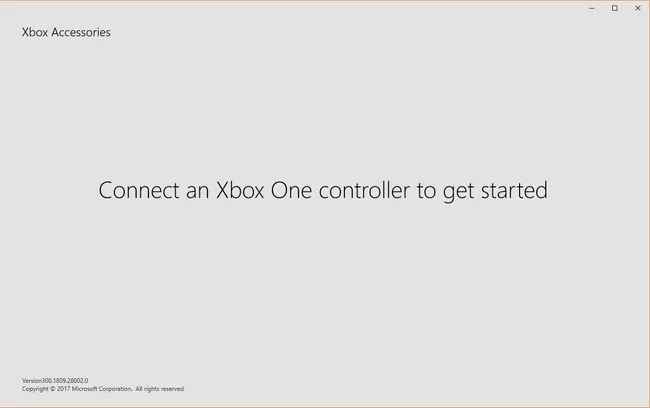
You can also update the Xbox One Controller on your PC using the Xbox Accessories app. Make sure to have Windows 10 or 11 on your PC.
1. Initially, Turn On your Windows PC.
2. Navigate to the Microsoft Store and type Xbox accessories in the search.
3. Select the app and click the Get button to download the app.
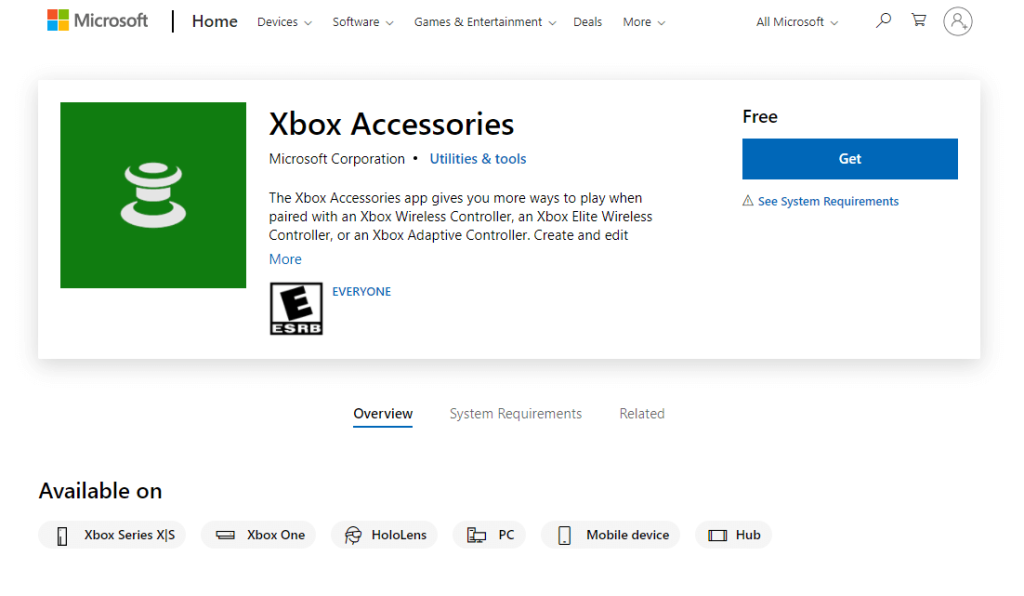
4. Once the installation is over, select the Open button to launch the app on your PC.
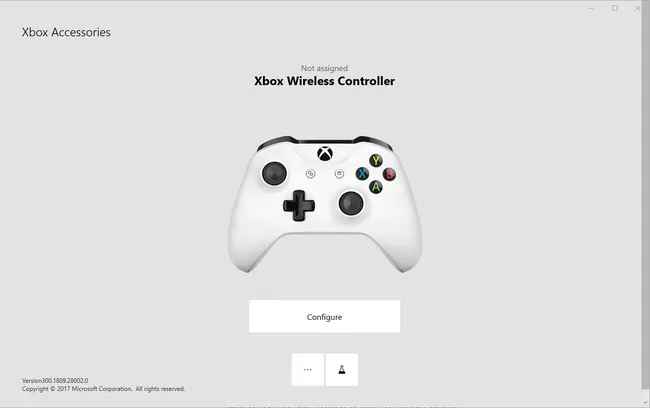
5. Connect the Xbox One controller to your PC using the USB cable.
6. If your controller needs an update, you will receive a message after you connect the controller.
7. If not, click the three dots icon to see more options regarding updates.
8. Next, tap the Firmware version with the number.
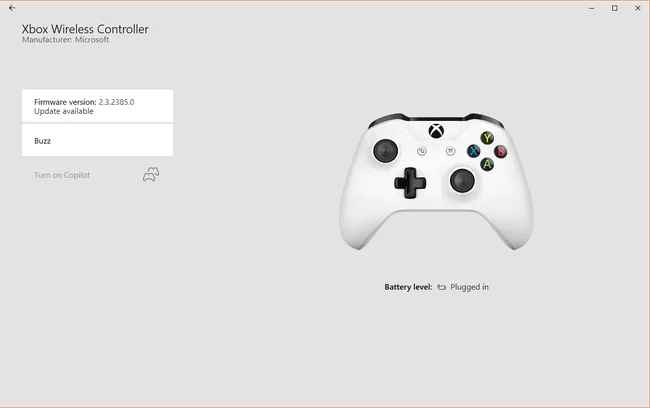
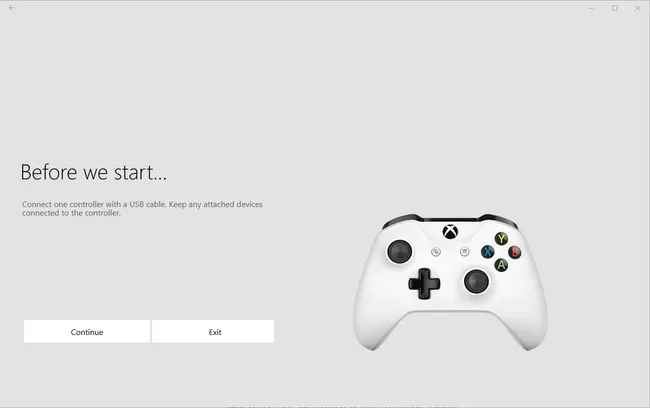
9. Click the Continue button and follow the on-screen instructions to update the Xbox One Controller.
Frequently Asked Questions
Yes. You need to update your Xbox One Console to improve the controller’s performance.
If your Xbox Controller is not turning ON, then refer to the fixes given below.
1. Check the status of your battery. If it is not charged, charge your Xbox One Controller.
2. Update the Xbox One Controller.
3. Reset your Xbox One Controller.
Disclosure: If we like a product or service, we might refer them to our readers via an affiliate link, which means we may receive a referral commission from the sale if you buy the product that we recommended, read more about that in our affiliate disclosure.