

Since I have a deep knowledge of Philips Smart TV, I am the first person everyone in my contact list calls when they have to set up their Philips TV. It hardly takes me a few minutes to complete the entire setup process so I thought to record it in this blog to help other Philips TV users.
Philips Smart TV is indeed a great brand and product available in the market with so many options and features. Whether you are getting one for the first time or if you factory reset the Philips TV, you will have to set up your Philips TV in order to use it in all its glory.
If you are not sure how to set up your Philips Smart TV on your own, just use the simple and easy-to-follow instructions mentioned in this article. No matter what operating system your Philips TV is running on, you can easily complete the setup in a matter of minutes.
Information Use !!
Concerned about online trackers and introducers tracing your internet activity? Or do you face geo-restrictions while streaming? Get NordVPN - the ultra-fast VPN trusted by millions, which is available at 69% off + 3 Months Extra. With the Double VPN, Split tunneling, and Custom DNS, you can experience internet freedom anytime, anywhere.

Pre-Requisites When Setting Up Philips TV for the First Time
If you have a brand new Philips TV, then you have to ensure you have done the groundwork before we begin the setup process.
- After unboxing your Philips TV, place the TV in a stable and secure position. You can either mount the TV on your wall or place it on a stand.
- Get the necessary cables including HDMI cables and Ethernet cables to connect your Philips TV to the internet and all its accessories.
- Ensure you have a stable internet to connect to your Philips TV.
- If you wish to access the TV using your remote, then insert batteries into it to make sure it is in working condition.
How to Setup Philips Saphi Smart TV
The Philips Saphi Smart TV is now generally called the Philips Smart TV. If you have one at home, then you can set up the TV using the steps mentioned below.
1. Turn on your Philips Smart TV by connecting it to a power outlet.
2. First, pick a Language of your choice from the list of options given on the screen.
3. Choose your Country from the options given and choose between On the Wall or On a TV stand based on how you have positioned your TV.
4. Then, select between Home and Shop according to where you will be using the TV.
5. Next, you can either enable or disable Universal Access by selecting Off or ON.
Note: Universal Access will let you use special functions such as subtitles for people with visual or hearing impairments.
6. To complete the initial setup process, click the Start button and hit OK.
7. Now, you will be presented with four different settings. Open each setting and complete the process to set up your Philips TV.

- Connect to network: Highlight this option, press OK, and proceed with the on-screen prompts to connect your Philips Smart TV to WiFi.
- Install Satellite channels: Choose this option to install all the available satellite channels on your Philips Smart TV.
- Install TV channels: Pick this option if you wish to install antennal or cable-based channels and set up your connection as well.
- Personalise picture and sound: Press OK on this option to customize settings related to the picture, display, sound, and other audio settings.
8. You can even choose to install the channels and customize the picture and sound settings later. Once done, click on the Next button.
9. Press the Finish button to complete the setup of your Philips TV and continue watching your favorite content on the big screen.
How to Setup Philips Android TV
If you have a Philips Android TV, then these steps will help you complete the setup.
1. When you turn on your TV, you will be asked to choose a Language from a list of different options.
2. After that, you have to connect your Philips TV to your WiFi. Pick between Wireless and With Cable.
3. If you choose Wireless, your TV will start searching for available networks. Pick your WiFi and provide your internet Password to connect to the WiFi.
4. Next, you will be asked to log in to your Google account. You can also Skip this process.
Note: You can either log in to your Google account using your phone or PC, or using your TV remote.
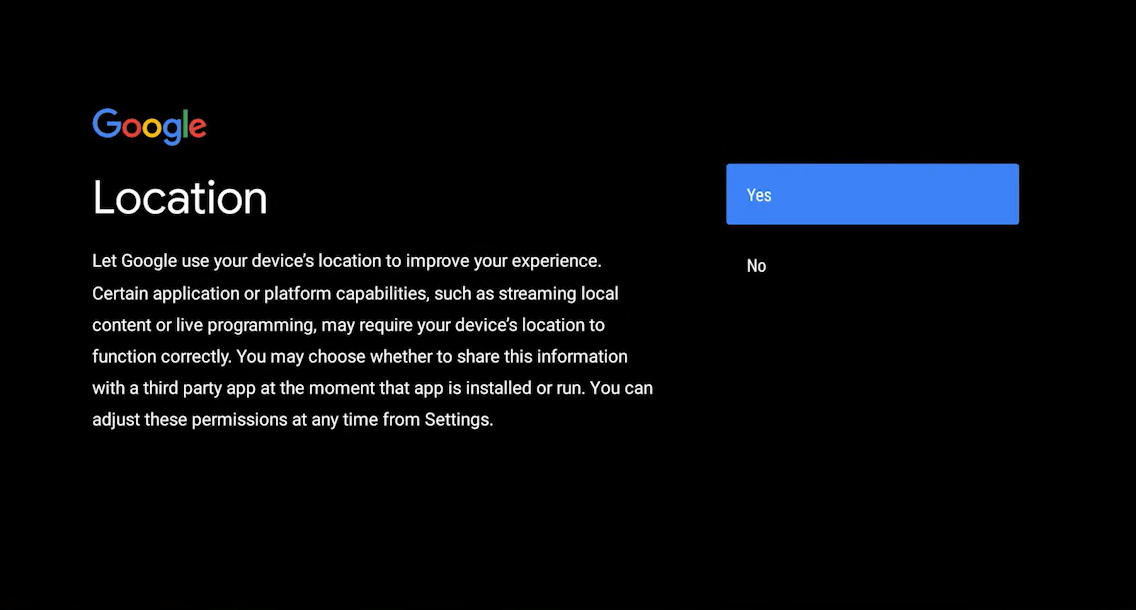
5. You can turn on the Location by clicking on the Yes option. You can also choose to Help Improve Android by pressing the Yes or No option.
6. You can then move on to customize the other settings according to your preference. These settings included the Google Assistant, personal results, and installation of extra apps as well.
Note: These settings are up to you to decide. Change and customize them according to your own needs and liking.
7. The screen will now show a quick guide to your Philips Android TV which you can skip through if you want.
8. Choose the Country you are located in from the options presented.
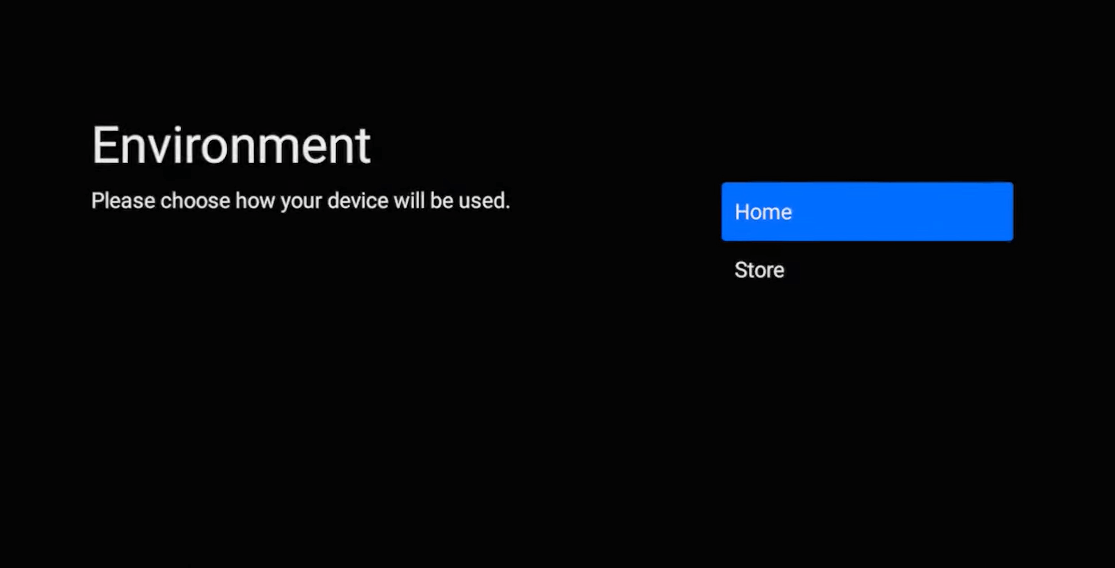
9. Once that’s done, pick between Home and Store to decide the TV mode. Each option will guide you through its own set of instructions and prompts if any are available.
10. After that, you will be asked to sign up with the Philips Smart TV server.
- Select Sign up now to get an account and access their features.
- Choose Later if you wish to skip this step.
11. Following that, move on to set up the channels on your Philips TV either through the Satellite or through Antenna or Cable.
- Cable: Press Start → Choose Antenna or Cable → Pick your cable provider → Select Analog / Digital channels → Provide the available and possible network frequencies → Type your Network ID to initiate the search → Press Finished or Try Again.
- Antenna: Press Start → Choose Antenna to initiate the search → Select Finished or Try Again.
12. Finally, you can enable or disable your online privacy by choosing between On and Off.
That’s it. You have set up your Philips Android TV. You can change any of the options and preferences later on if you wish to.
Setup Philips Android TV Without a Remote
There is a way to set up your Philips Android TV without using a remote.
1. Right after you choose your language from the initial setup, click on Quick Start with an Android phone or Quickly set up your TV with your Android phone? option.
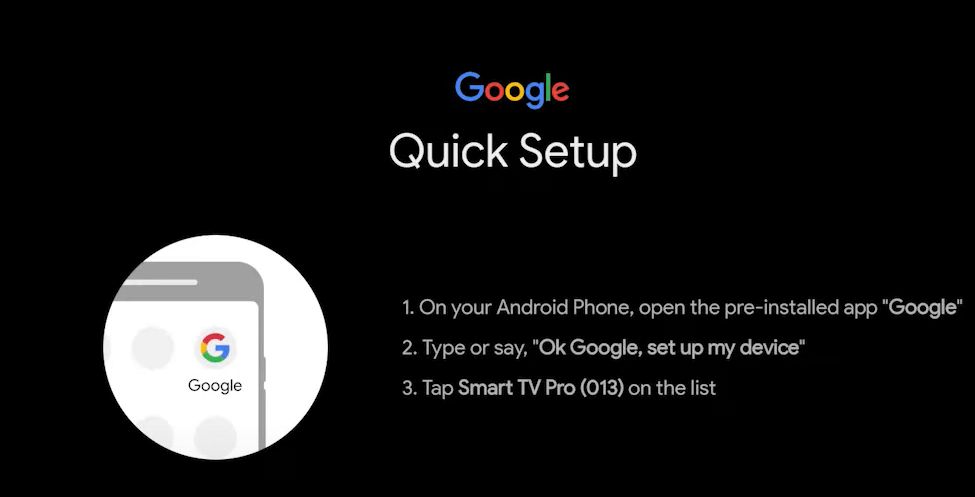
2. Launch the Google app on your smartphone and type, Set up my device. You can also use the microphone to say it as well.
Note: To select your TV from the browser, you need to connect your smartphone and TV to a similar home network.
3. Follow the on-screen prompts and select your TV from the browser to get a code.
4. Type the code on your TV and now, you can use your smartphone as the virtual remote to set up the TV.
How to Setup Philips Roku TV
These instructions are for those who have a Philips Roku TV.
1. Switch on your Philips Roku TV and press the Power button on your remote.
2. Pair your Roku remote with your Philips TV. The pairing process may vary according to the remote you have.
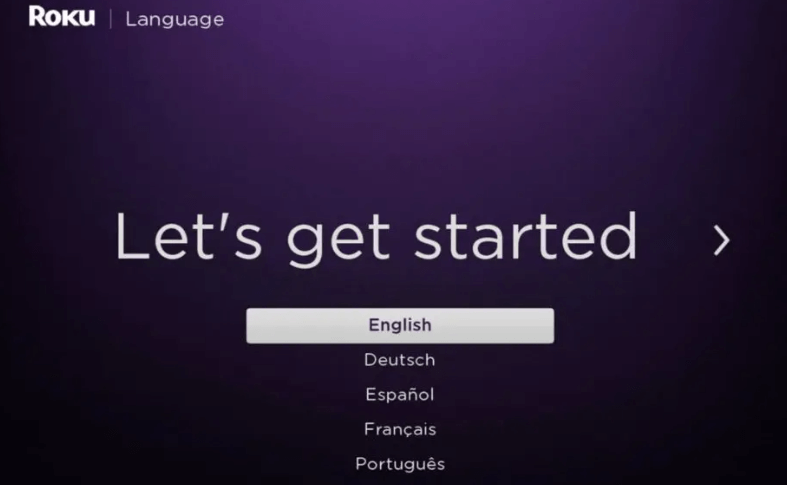
3. Pick a Language from the list of options given and on the next screen choose the Country you are located in.
4. Select between Set up for home use and Set up for store use options.
5. Following that, your Smart TV will automatically detect all available WiFi networks within its range. Pick your home network, provide your password, and hit the Connect button.
6. Your Philips Roku TV will now look for a software update, if any are available, press OK to update your TV.
7. Once the TV has been updated, your Philips Roku TV will restart automatically and direct you to its activation page.
8. To activate your device, enter your email in the given space and a link will be sent to your email. Follow the on-screen prompts to complete the process.
Note: If you did not receive a mail, then press the Star (*) button on your Philips remote and scan the QR code displayed on the screen to get the activation link. On the other hand, you can also create a Roku account through their official website.
9. Once you have activated the device and created your Roku account, you will be able to set up and download the channels on your Philips Roku TV.
10. When you see the Let’s connect your devices displayed on your TV, you can add all the external devices such as soundbars, speakers, and such.
Note: You can also choose to connect the devices later through Settings → Remotes & devices → Add devices.
11. After that, a welcome video will play on the screen which you can skip by pressing the Home button.
That’s it. Finally, your Philips Roku TV is all set to be used. You can now change and customize the TV settings according to your needs any time you want after that.
How to Setup Philips Google TV
Follow these instructions to set up your Philips Google TV without any trouble. Ensure your Google TV is connected to a power socket and turned on before you begin.
1. Pick a Language of your choice and on the next page, choose between Set Up Google TV and Set Up Basic TV options.
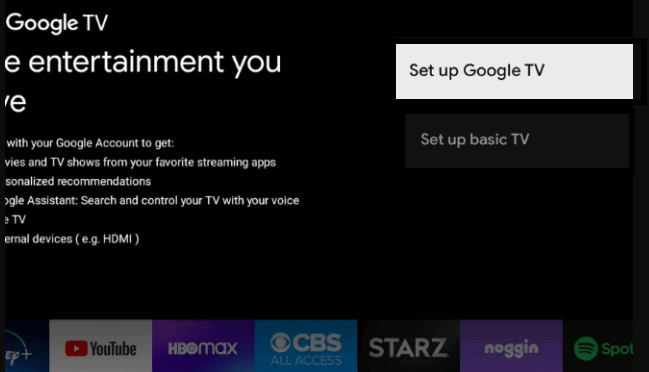
- Set Up Google TV: You will be able to access all the unique features of Google TV by signing in to your Google account.
- Set Up Basic TV: No need to sign in to your Google account but you will have a basic TV without many features.
2. Connect the TV to your WiFi network by selecting your home network from the given options. Provide your WiFi password when prompted.
3. If a new software update is available, select the Download and Update button to get it.
Note: Alternatively, you can click on the Download in the background button as well. This way, the update will happen in the background while you continue setting up your Philips TV.
4. Following that, you will be prompted to sign in to your Google Account. Use your Google credentials to sign in.
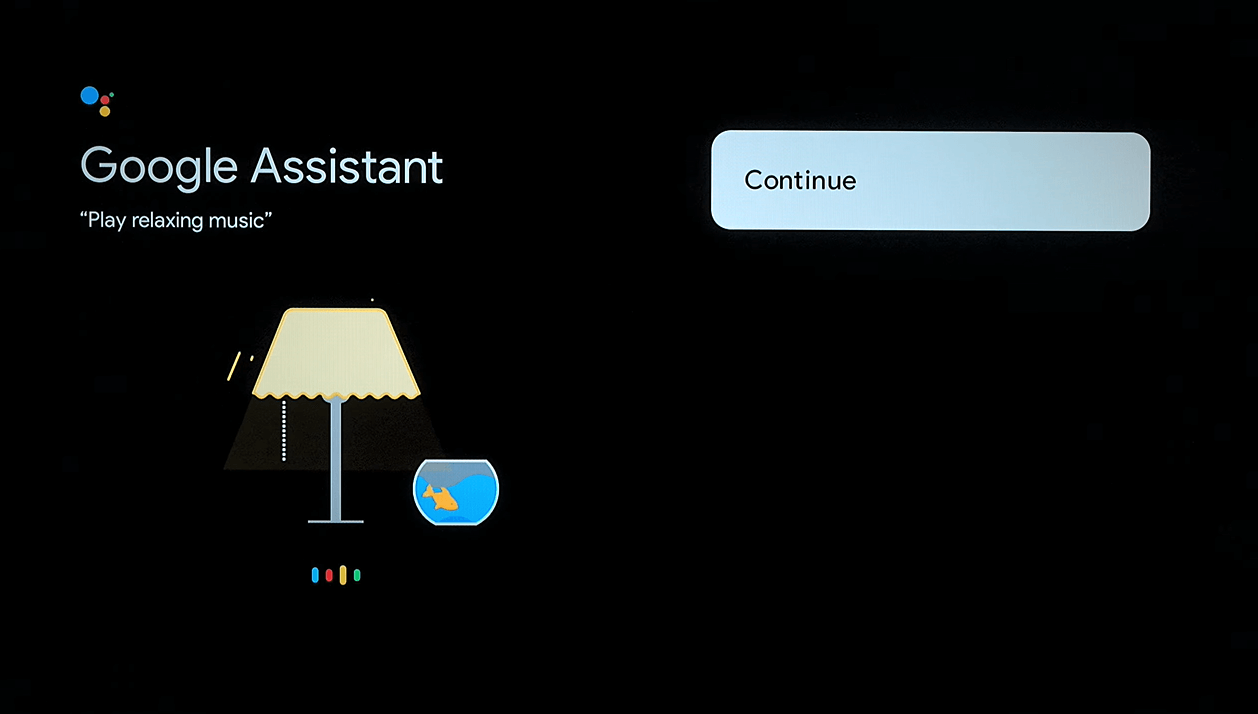
5. On the Google Assistant page, select the Turn On button to enable the feature or the No Thanks button to disable it, and press Continue.
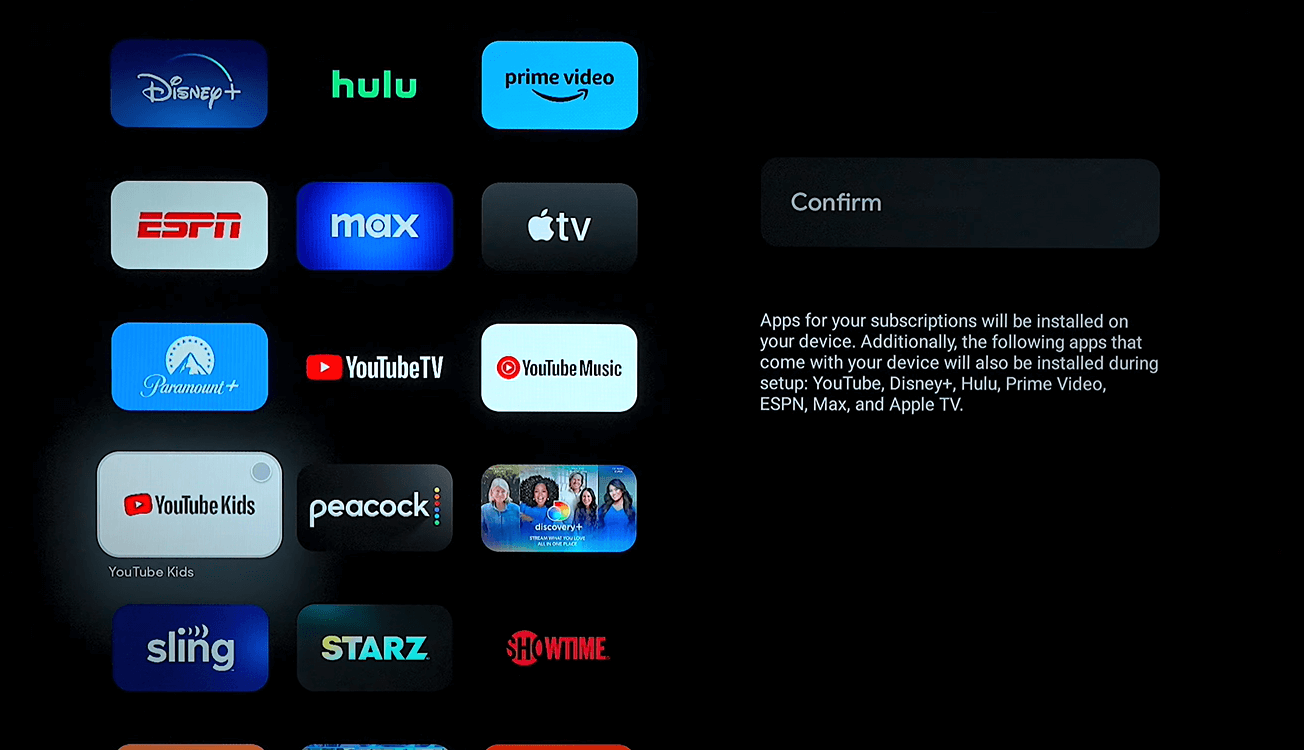
6. You can now select all the apps to be installed on your Philips TV and select Confirm.
7. Afterwards, based on where your TV is being used, choose between Home and Store options.
8. Once you have set the Time Zone, click on the Log In button and press Agree on the User Agreements.
Note: If prompted, select the Allow option to keep your Philips TV up to date with the latest software.
9. Finally, press the Home and OK buttons on your TV remote to complete the setup process.
You can now continue to watch and stream anything and everything you want on your Philips Google TV.
Setup Philips Google TV Without a Remote
To set up your Philips Google TV without a remote, you need to use the Google Home app.
1. Download the Google Home app on your device from the Play Store or App Store.
2. Launch the app, click the + icon, and choose Set up device.
3. Click on the Set up new devices in your home option and add a home.
4. Select the Scan code option and scan the code displayed on your Philips Google TV.
Proceed with the on-screen prompts and instructions to complete the Home app setup as well as your Philips TV setup.
FAQ
Yes, you can set up your Philips Google and Android TV without remotes.
Yes, you can an Antenna connection on Philips TV.
Disclosure: If we like a product or service, we might refer them to our readers via an affiliate link, which means we may receive a referral commission from the sale if you buy the product that we recommended, read more about that in our affiliate disclosure.